Your Cart is Empty
Trusted by families & educators — sensory, learning & support tools.
Trusted by families & educators — sensory, learning & support tools.


This varies, depending on opportunity (and exposure and teaching of time concepts), underlying cognitive ability and an inherent interest or motivation.
However, referring to the NSW Mathematics Syllabus:
Stage 1 - Year 1 and 2 (5 to 7yr olds) = o’clocks, half-pasts, quarter past and quarter to.
Stage 2 - Year 3 and 4 (7 to 9yr olds) = Time to the minute (past and to).
By the end of Yr 4, the outcomes that children are working towards is to be able to tell the time on a standard analogue clock.
When can you start teaching your child to tell the time?
Children can start learning to tell the time when they can recognise numbers 1 through to 12. Some children could be as young as 4 years old.
We recommend at this young age, let your child be your guide. If they express interest in clocks and a desire to learn, then why not start?

Many children struggle learning to tell the time, especially on an analogue clock. That doesn’t have to be the case, though.
You can teach your child to tell the time by teaching them the 3 easy steps (keep reading).
If you look at a clock from a child’s eye, a clock can be very overwhelming and confusing.
Clocks have lots of different things happening, with different sized hands, sometimes even with a “seconds” hand moving. Some have lots of numbers and words written on them.
Breaking it down into 3 easy steps simplifies the whole process and gives them clarity as to what to look at, and in what order. Step. By. Step. It becomes clear, systematic and logical.
The first thing your child needs to look for on a clock is the BIG hand.
This helps your child learn how to “start” the process, and how to zone in on what is important and screen out the rest.
HINT: It is absolutely fine to refer to it as the big hand.
You can also refer to it as the minute hand. However we recommend keeping it as simple as possible to begin with. Use the same term every time for consistency, at the start.
Once you know to look for the BIG hand, look to see if the BIG hand is on the:

Initially concentrate ONLY on the O’clocks. If the BIG hand is on the o’clock, sneak a look at the little hand. Once your child is really good at telling o’clock times, then progress to half-pasts.
Find the BIG hand. If it is half way around, you’ll know it is a half-past. Look to see what number the little hand has gone past. Then move onto the “past” side.
Find the BIG hand. If it is on the past side, start counting from the top and go around to the right. Find the number the BiG hand is on. Look to see what the little hand has gone past. Then move onto the “to” side.
Find the BIG hand. If it is on the to side, start counting from the top and go left. Find the number the BIG hand is on. Look to see what the little hand is on its way to.
You can also introduce 1/4 past and 1/4 to. We ask children to tell us both (15 minutes past and quarter past OR 15 minutes to and quarter to).
HINT: Always give lots of practice. Try for at least 10 different o’clocks for example during a session.
HINT: It is important to “teach to mastery”. With the best of intentions and excitement, it can be tempting to move your child on too quickly.
For example, your child needs to get most (if not all) the o’clocks correct before you can be confident they are ready to move on to the half-pasts. It might take several days or weeks on any one stage. Don’t be in a rush as we are after mastering the skill, accuracy and building confidence.
Moving on too fast can be disheartening, damage confidence and make your child less eager.
HINT: Always revise before introducing new steps. Always begin a time teaching “session” revising what your child has already learnt. This provides additional practice, builds confidence and willingness to attempt something a little harder.
It ls good teaching (and therefore smart) to start with something your child knows, before introducing new concepts or skills. This is a strength based approach to teaching and learning.
HINT: We often refer to quarter past and quarter to as the “short cuts”.
HINT: Always keep it fun!
If the BIG hand is on the past or to side, always start counting from the TOP.
If the big hand is on the past side, start counting from the top and go right.
If the big hand is on the to side, start counting from the top and go left.
To get started, children need to be able to:

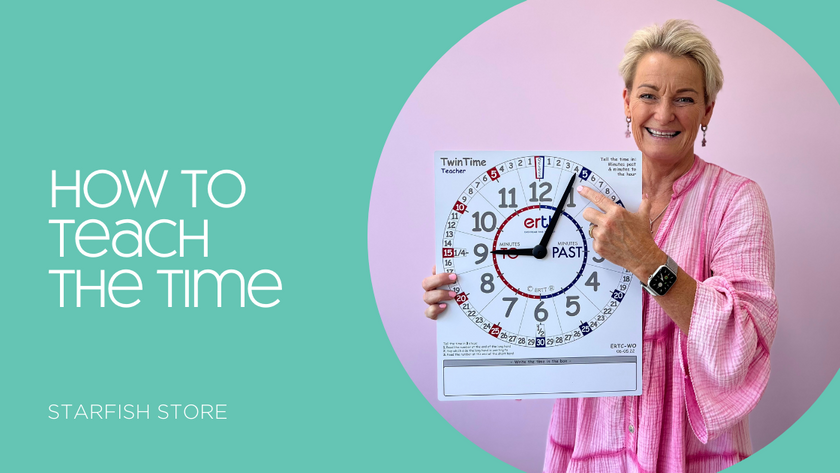
We ALWAYS use a clock that has minutes marked 1 through to 30 on the past side and 1 through to 30 on the to side. This makes learning to tell the time so much easier.
We use the EasyRead Time Teacher clocks. There are wall clocks, small alarm clocks and watches - all with the same clock faces.
Once children can tell the time using these clocks, we then apply the same technique to other clocks. We follow this progression:
HINT: We have a collection of cheap clocks in our teaching kit. You can also look to google images to find different clock faces. Also, when you are visiting family or friends or travelling, refer to clocks in the community.
Using the 3 easy steps to telling the time, you can tell the time on any clock!
Click Here for Best Clocks for teaching and learning to tell the time.
We LOVE this system.
The clocks and watches all have a consistent face. This makes it so much easier when moving from one to the other.
But the STRENGTH in these clocks and watches is the design.
It is hard to find other clocks that are like this.

This is the perfect tool for teaching. It is a good size, can be write on/wipe off, the hands can be moved and it is lovely and clear. It is durable. Much easier than using an actual working clock, which tend to be harder to manipulate, cumbersome and scratch easily.
Click here for the Twin Time Teaching Card.
As soon as children have mastered telling the time on the Twin Time Teaching Card, we “promote” them on to the wall clock, the classroom clock or the alarm clock. We have a working Rainbow Wall Clock in our specialist tutoring centre.
Click here for the EasyRead collection.


It is a big moment when children can tell the time and can get their very own watch. We recommend the waterproof ones. For a little extra, it means you won’t have to worry about it getting wet.
The face on the watch is exactly the same as the clocks, facilitating a much smoother and easier transition.
Click here for the EasyRead waterproof watches.
Teacher’s LOVE a good resource. Resources that save time, make teaching & learning easier and more fun.
Sometimes, it can just be a case of mixing up and varying the tools you are using to keep children motivated.
Sometimes it is a deliberate strategy to ensure skills are generalised (and not locked to one particular tool).
Sometimes it is a deliberate strategy to ensure you are catering to different learning styles and sensory needs.
Paper based resources such as worksheets or workbooks.
Personally, we prefer to use more interesting and hands-on materials. However it is important to remember, that children may be required at times to read the time on a clock face or draw the hands on a clock face (from a book, worksheet or exam).
Worksheet Genius are an excellent resource, with free downloadable and printable worksheets.
Flash Cards can be used as a prompts during teaching.
The EasyRead Time Teacher system also includes two different levelled flash cards.
Included are instructions for 4 different games or activities.
Level 1 - is aimed at 5 to 7 years. Covers o’clocks, half-pasts, quarter past and quarter to. Click here for level 1.
Level 2 - is aimed at 8 to 11 years. A mix of cards, up to 24hr time and digital conversions. Click here fro level 2.


Use the free download to keep track of your child’s success as they progress.
Use it as an easy yet effective way to know when they are ready to progress to the next stage of learning to tell the time.
Teaching to mastery would mean that when telling the time, they would get most if not all of the times correct.
As a guide, only move on to the next stage if they are getting at least 9 out of 10 correct 2 or 3 sessions in a row.
Teaching the time shouldn't seem daunting. Just follow the 3 steps, in stages, to teaching the time right through to mastery. Remind your child to follow them and they’ll be able to tell the time, in no time!
As their skills improve, they’ll be able to progress to any clock. Any clock, anywhere and anytime.
Feel the joy as your child builds their self esteem and confidence with learning a key life skill.
Kirstie Wishart M.Ed (Special Education).
Owner and founder of The Starfish Store. Kirstie’s professional life has included: teaching (in both public and private schools in Australia, New Zealand and Thailand), lecturer and subject coordinator at the University of Wollongong, Educational consultant (working with children and young people with a trauma background), OoHC Case Work Manager, and Specialist Tutor (working with children and young people with significant learning difficulties and/or disabilities).
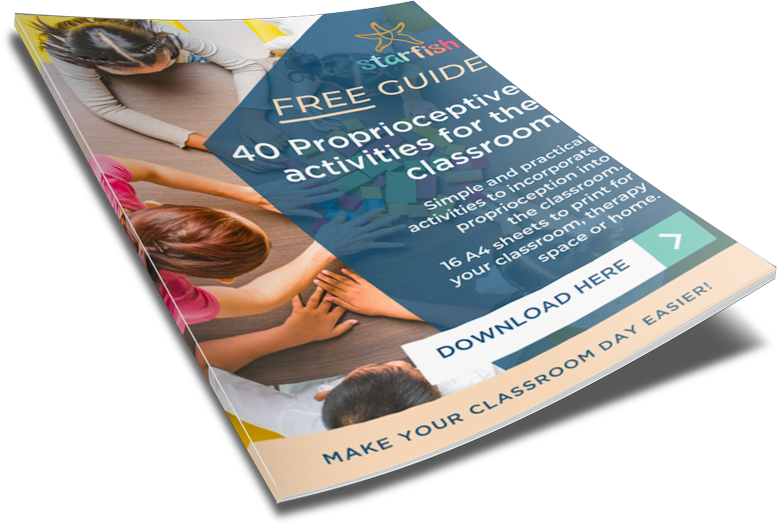
40 Proprioceptive activities for the classroom. Simple and practical activities to incorporate Proprioceptive into the classroom. 16 A4 sheets to print for your classroom, therapy space or home.